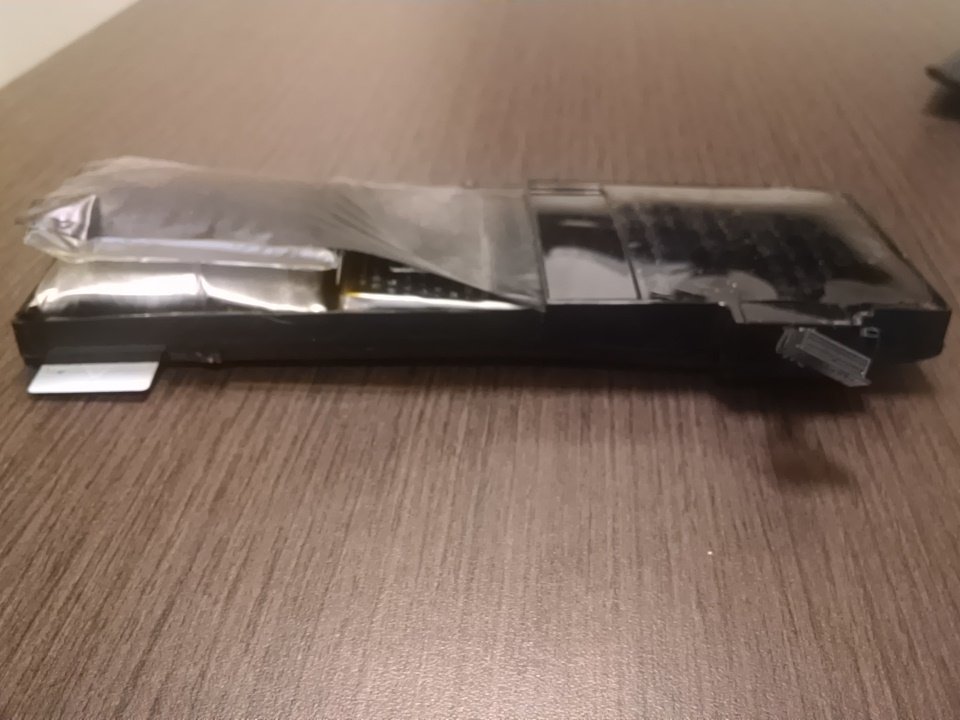
Today we taught staff how to repair personal devices, with step by step instructions from diagnosis to installation. We’ve recapped the process below for participants and for others who are up for a repair adventure. This is not meant to be an exhaustive list of all potential issues and their solutions; it is an orientation to the repair process itself.
Identifying your product and warranty coverage
- Since repair parts are so device specific, it’s important to know the exact production year and model of your device. You can find this information out by entering the serial number into an online warranty checker for Apple or Windows devices. Both sites give tips on finding the serial number.
- If the device is under warranty, have it repaired by the manufacturer. You’ll void the warranty if you try to repair the part, and the issue might be covered by your existing warranty. Even if it’s something obviously not covered by warranty (i.e. a dropped screen), take it in to make sure there is nothing else wrong with the machine that might be covered by the warranty.
- If the device is not under warranty, write down the specific year, model, and size of the device. This information will come in handy when you’re ready to purchase parts.
Diagnosing the issue
- If it’s not obvious physical damage (cracked screen or broken keyboard), the first step is to use the built-in hardware diagnostic tool for Apple or Windows machines.
- If the machine won’t start up, you’ll need to troubleshoot a variety of potential sources using this troubleshooting guide.
- If the diagnostic tool doesn’t bear any fruit, try searching for the symptoms using descriptive language (“computer running hot”, “computer making loud noise”, “computer beeping on startup”). There are a plethora of people experiencing the same issue and can point you in the right direction.
- We offered the services of our Restart Center volunteers to help diagnose issues with staff devices, but you can go to the Apple Genius bar for support. Even if you don’t intend to pay for Apple to perform the repair, the technicians can help you identify the issue so you can confidently purchase the correct part.
Purchasing parts
- We only recommend buying parts from iFixit.com or another retailer that sells Original Equipment Manufacturer (OEM) parts. You’ll be able to find cheaper parts on Amazon or other online retailers, but they often don’t come with an extended warranty. Additionally, OEM parts are made by the same manufacturer who made your device (Apple or Dell suppliers), and are held to federal safety standards. Parts not created by the OEM can have hazardous chemicals, cause fires, or be otherwise unsafe for use in your device.
- Use the year, model, and size of the device to guide you through iFixit’s part selection process.
Performing the repair
- While there are many repair guides out there, we’ve found iFixit‘s manuals to be the most accurate, up-to-date, and complete.
- We helped orient staff to the various plastic tools and screwdriver bits needed for repair, but any good guide will have a list of tools right at the top. Your tools should be marked along the edge of the bit to help identify a Phillips #000 from a Phillips #00.
- If you don’t have a set of tools available, each tool is linked in the repair guide for purchase. Mobile device repairs also have the option to purchase the toolkit with the repair part.
- There are a lot of screws that will look very similar to one another once removed from the device, so make sure to organize your space and note the size of each screw as you remove it. We had a very simple set up of double-sided tape on white paper to keep track of the screws.
- Before you get started, make sure you are being safe. Review these repair safety guidelines to avoid injury or (eep!) fires.
Planning for your next device
Once you’ve performed your first repair, you’ll be more comfortable opening up your device and extending its lifespan with future repairs. At some point, however, you might need to purchase a new device. Now that you know how certain design decisions can make a device more (or less) repairable, it’s important to keep repairability in mind when making a purchase. iFixit’s teardown guides end with a repairability score on the final step, letting you know how easy it will be to make repairs on your future device. The 2016 MacBook Retina, for example, received a 1 out of 10 for repairability for it’s soldered ram, glued down battery, screen design, and quirky screws.

1 comment for “The Repair Process (Staff Workshop Recap)”