Last year, we opened a Restart Center for our high school students, ages 14-18. This year, we decided to extend our repair tutoring center into the middle school, with ages 11-14. We were able to reuse many lessons learned from our work with high school students, but we had to tweak our launch slightly to be developmentally appropriate and to align with a very different schedule.
Scheduling
The Middle School has a set club period each Friday for 25 minutes, and we had to make some adjustments to work within this framework. We set the expectation that repairs might take 2 club meetings (2 weeks) to complete, which seemed to relieve the near-impossible task of attempt a full repair in 25 minutes.
Meeting 1: Orientation to Toolkit
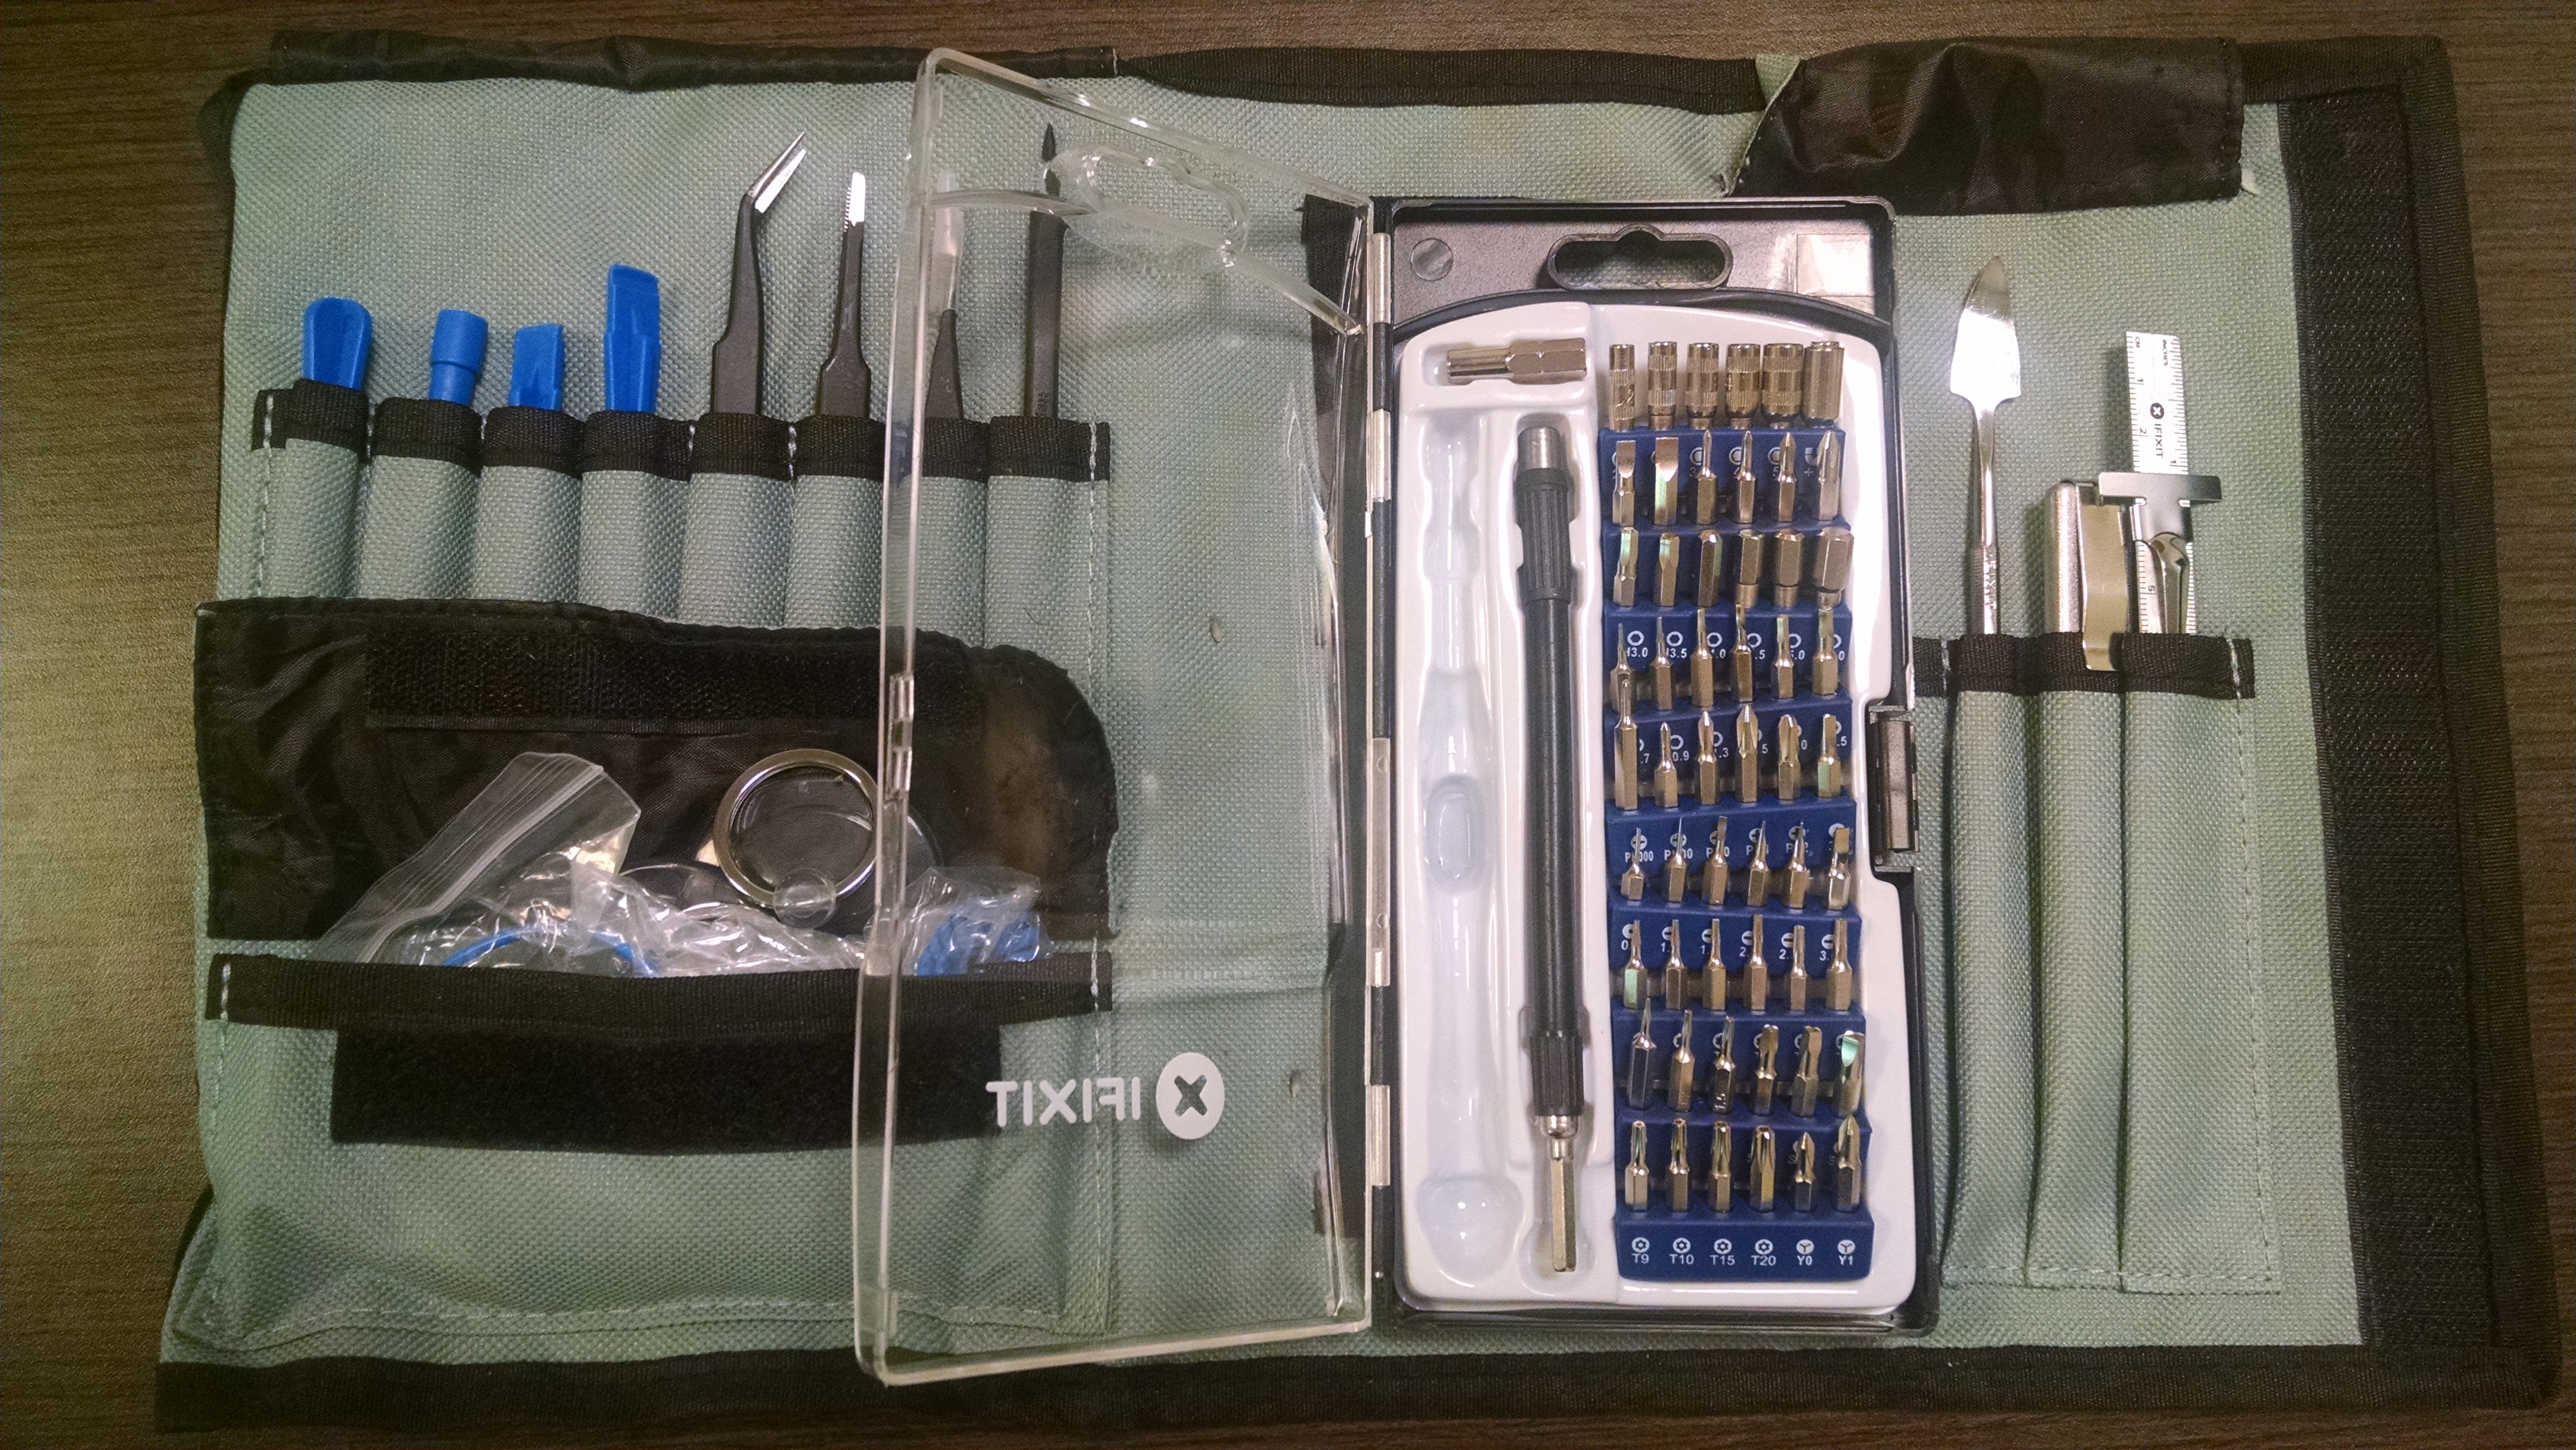
None of our students had much experience with tools beyond the standard screwdriver set, and they were amazed by the set we would be using. We spent our first meeting identifying the tools, establishing a common language for the tools, talking about toolkit organization, and learning how to match the bits to the instructions. We also had a chance to talk about the need for so many different bits, and raised some questions about design choices that required so many different types of screws.
Meeting 2: Routines and Body Movements
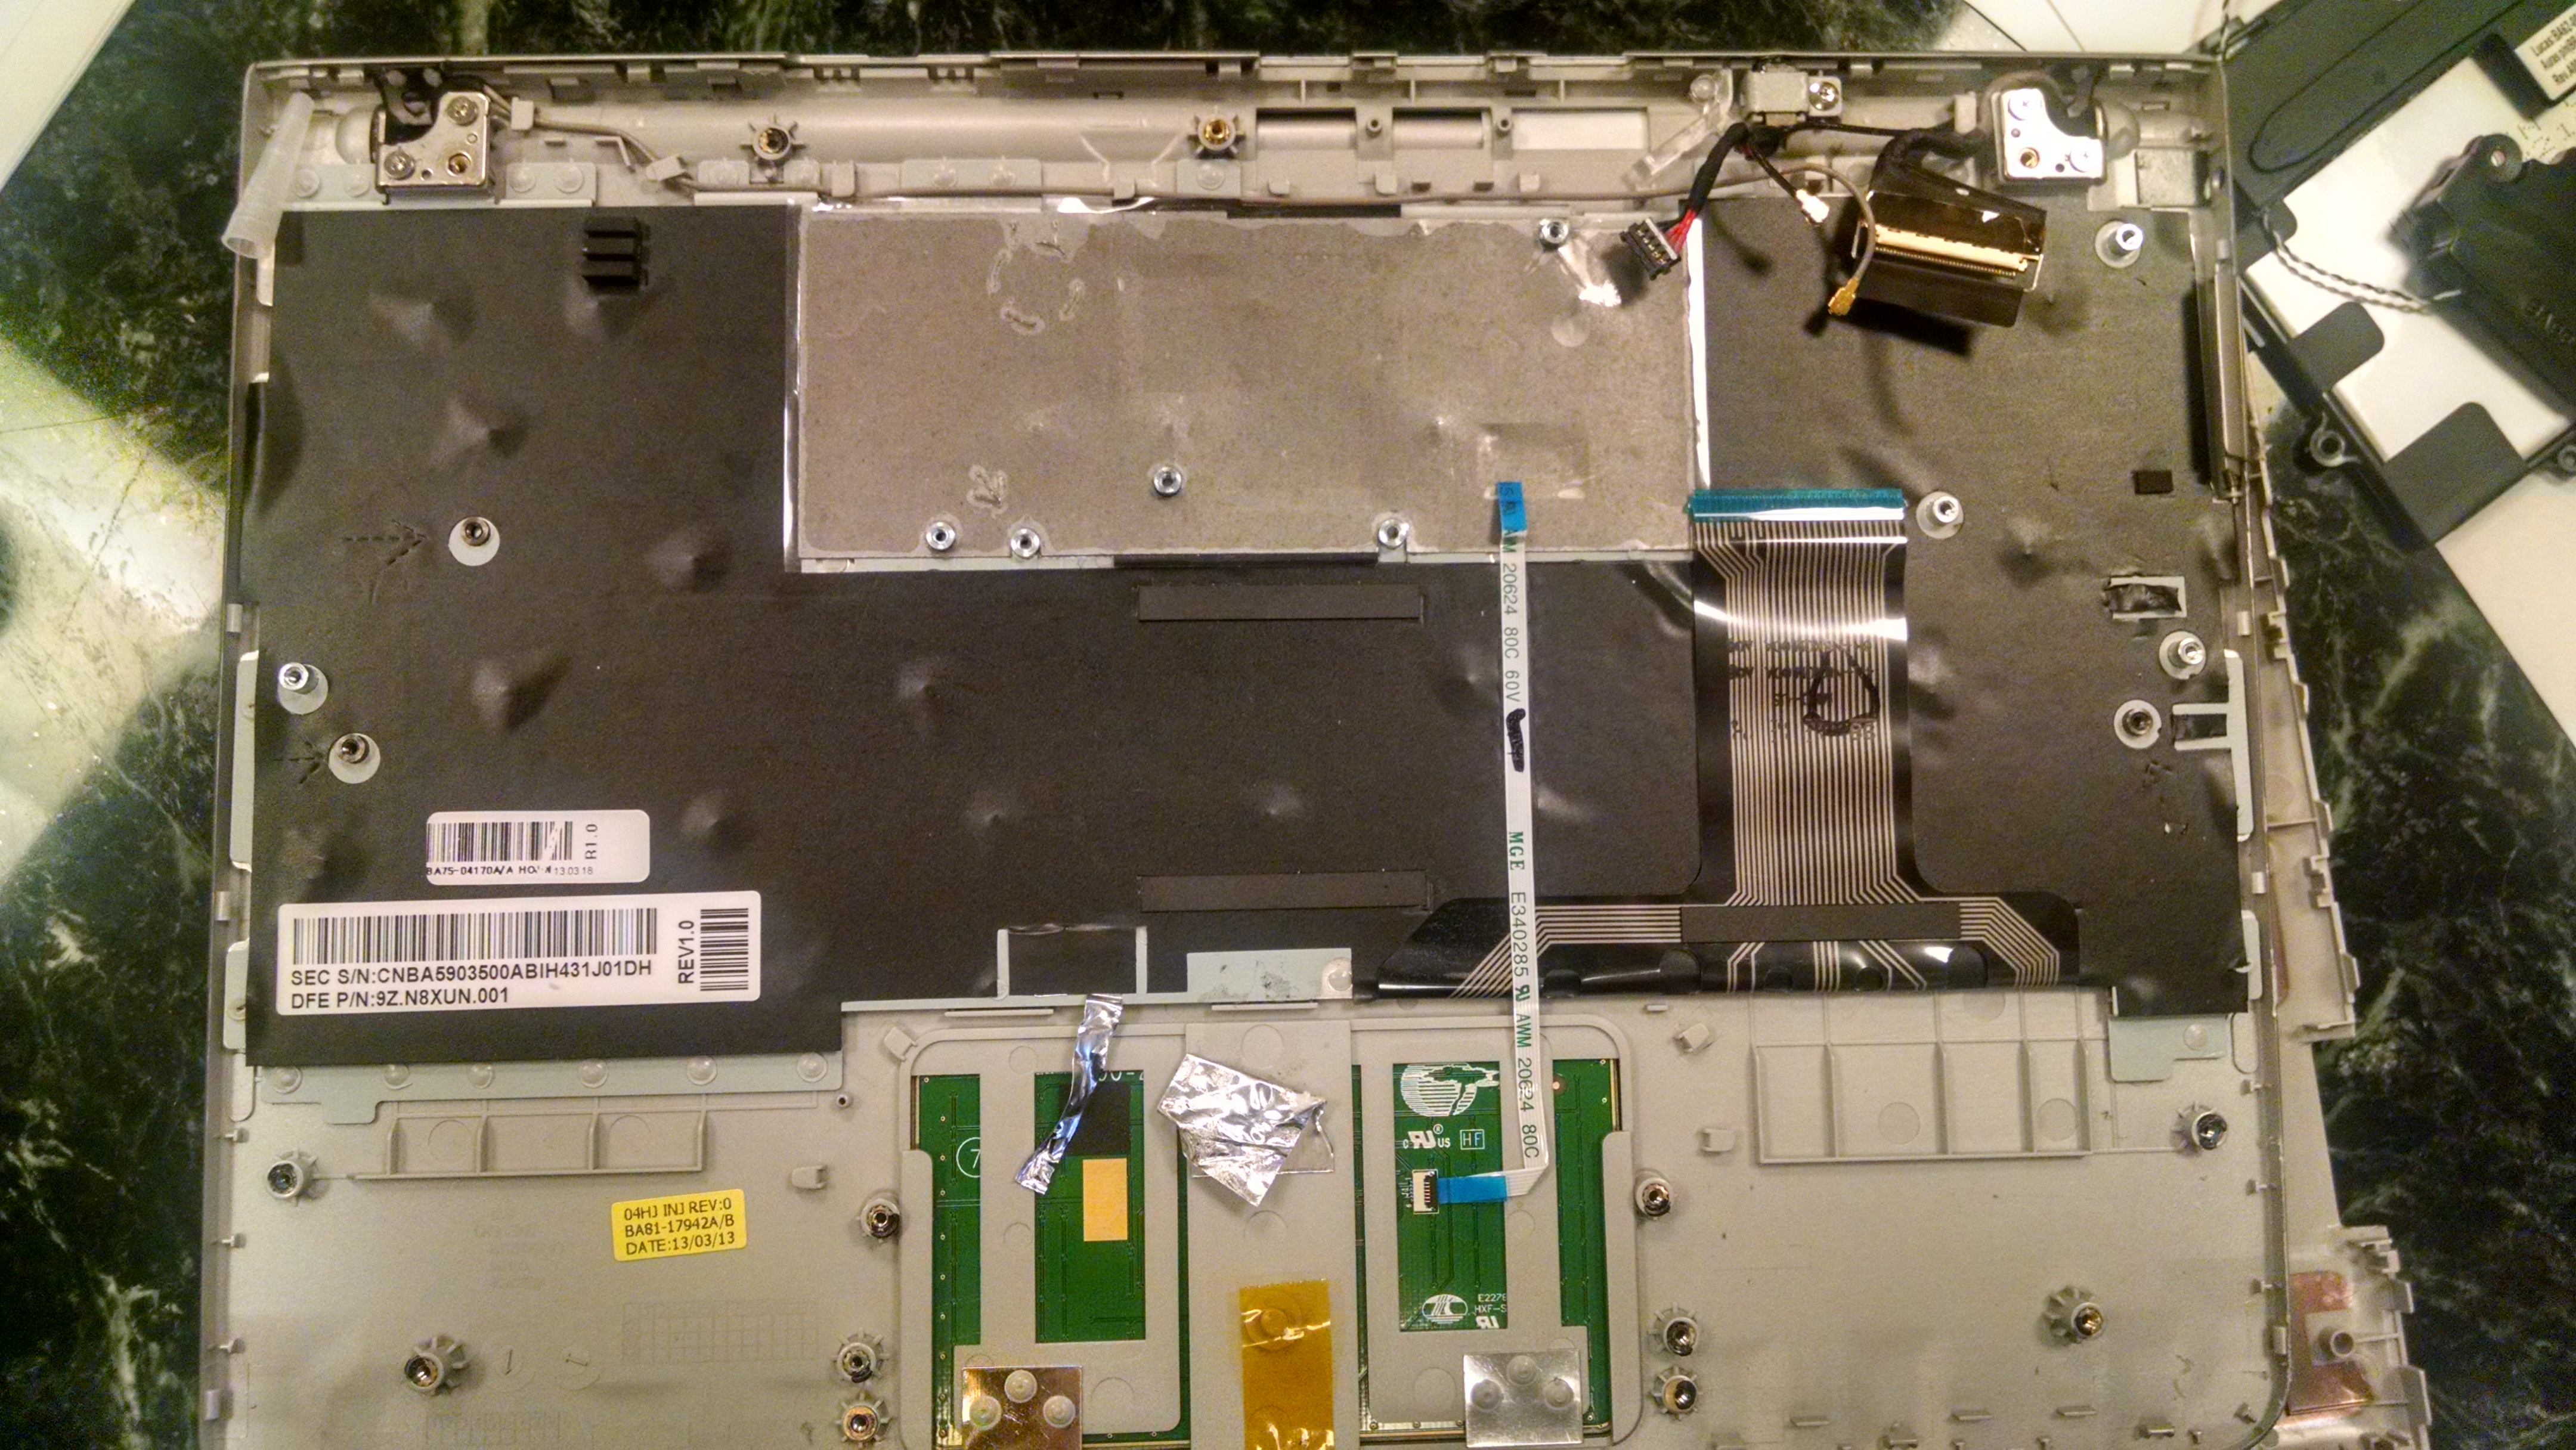
Rather than lecture the kids on repair routines, we set up chart paper in the space and led them through a teardown of a Samsung Series 3 Chromebook. As we went through the process, we asked participants to speak up if an instruction/action we were performing could be applied to all repairs in our center. By leading kids through a hands-on activity, they experienced the importance of different routines first hand. The list we developed for routines is below.
- Wash your hands prior to every repair (to protect the equipment)
- Watch/read the full instructions
- Organize your work space and tools
- Ground yourself
- Complete the repair
- Wash your hands after every repair (to protect yourself)
We also spent a fair amount of time learning how to use our bodies to efficiently apply force with different tools. We practiced twisting our wrists to pop open a casing with a metal spudger, flicking our fingers using a plastic spudger to release a cable, finding the right angle to remove a screw with the minimum effort, standing up to apply more force when needed, and learning how to feel the “just right” amount of force. People often don’t think of repair as a sensory or whole body experience, but it’s important for kids to know how move their body during repair.
Meeting 3: Learning the Visual Language of Machines
We talked about the importance of standard “experiences” and interfaces across machines since the parts are produced at an industrial scale and often used in different models. We spent a lot of time observing the various cables and connections, and asking ourselves what patterns we noticed and what hints were being messaged to us by the design. Students took time to observe and share out loud their discoveries as we continued to teardown the Samsung Series 3 Chromebook. Some observations included:
- The blue tabs helped with pulling, indicated the direction of force needed;
- The black part of a ribbon or cable was often the part that disconnected from the machine;
- The white part of the ribbon or cable was actually attached part of the machine;
- Certain types of cables had different attachment mechanisms than others (simple snaps vs. clasps);
- Small handles on components seemed to indicate more force was needed to remove them; and
- And many parts were easily identifiable by their position within the device (students didn’t have to know what a track pad looks like to be able to identify it by its location).
Meeting 4: Rebuilding the Chromebook
Coming soon-the ultimate performance test! Did students keep track of all of their parts and components well enough to assemble the device after a teardown? After the first few organizational reminders, we let students continue without prompts to label their screws or components.